How to save battery on iPhone SE (2020), any iPhone
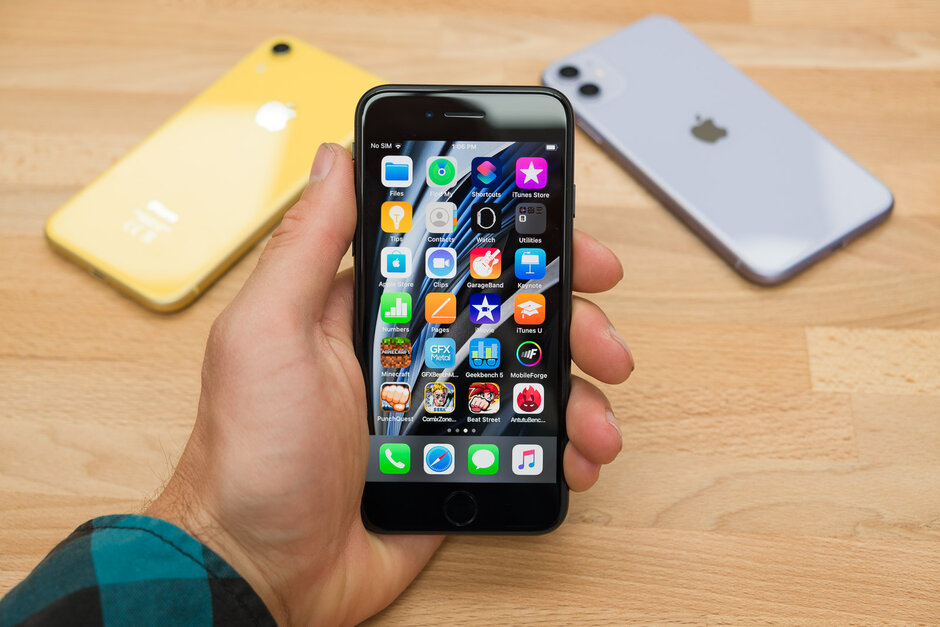
The iPhone SE (2020) certainly stirred the pot when it landed a couple of months ago. Its looks may be dated and even unattractive by today’s standards, but that doesn’t change the fact that it rocks powerful, modern-day internals, and starts at $400. Unfortunately, that tiny body can only hold that big of a battery, and it quickly became apparent that, with the powerful A13 processor on board, battery life can be a bit short.
Now, considering the type of customer the iPhone SE (2020) is aimed at, this shouldn’t be a big of an issue. With regular, sparing use, without heavy gaming or media consumption, the iPhone SE (2020) battery can last for a day.
But you are still a bit constrained — don’t forget to charge nightly, don’t go on a trip without a topped up powerbank, don’t game in the afternoon if you need your iPhone battery to last you through the late night on a Friday.
So, what can you do? Unfortunately, iOS doesn’t give the user any crazy access to internal phone functions, to disable and enable at will, but there are still some minor tweaks you can attempt to squeeze an extra hour or two from that cell.
Use Low Power Mode at all times
The nuke-it-all option. Instead of tinkering with your iPhone battery settings, just enable Low Power and it’ll do it all for you.

The iPhone will prompt you to enable Low Power Mode when its battery hits 20%. But you can do it manually at the start of the day, even when it’s still at 100%. Do that if you are planning to have a long, long day and need every percent you can keep.
Still, Low Power Mode is kind of the “bringing a sledgehammer to a knife fight” solution. There are a lot of granular options you can tweak yourself before resorting to throttling your phone or lowering its auto sleep to the unusable 30 seconds. Let’s explore them!
What is Background App Refresh?
Background App Refresh is a slightly misunderstood feature. See, unlike Android — which is no enemy of letting apps just run active in the background — iOS is much more prone to “freeze” or “suspend” apps when they are not on screen. Essentially, iOS remembers where you left off and disables the app. The next time you open it up, iOS recalls the “frozen” data and loads it up, so it kind of looks like the app has been running in the background all this time.
Now, some things may have changed since the last time you were in the app. If it’s a social feed — new posts may have appeared. If it’s a cloud app, like Google Keep, you may have new notes which you created on a different device.
This is where Background App Refresh comes in handy. iOS will periodically scan for new data for each app, load it up, and add it to the “frozen” data. So, when you go to open said app back up, you will not only see the screen where you left off, but the new information will also appear in an instant.
So, it’s actually a useful and intelligent way of updating app information and there is very little benefit to all-out disabling it.
However, what I do suggest doing is that you go into Settings -> General -> Background App Refresh and setting it to only update when you are on Wi-Fi.


My reasoning is simple. For one, Wi-Fi drains less battery than cellular, and secondly — if you are on Wi-Fi, this means that your phone is probably near a wall outlet or wireless charger. So it’s safe from battery drain. Once you go out and about and the phone is on the LTE network, it won’t try to refresh apps in the background, which should extend your battery life a little bit.
Identify Location hogs
It’s a well-known fact that location pinpointing can take its toll on a phone’s battery. If you don’t intend to use any apps that need location tagging for one reason or another, just go into Settings -> Privacy -> Location Services and turn the toggle at the top off.

This will disable the iPhone’s GPS and any form of location-based tracking until you turn it back on.
If you don’t want to go with the “nuke it all” method, the Location Services menu gives you quite a lot of control over what app — and when — can use your phone’s location. You can identify which apps may be potential battery drainers by looking for an arrow next to their names.

What do the arrows in Location Services mean? A black arrow means the app has gotten your location some time in the past 24 hours. A purple arrow means that an app has used Location Services very recently. If you come to this menu often and notice that a certain app always has a purple arrow, maybe it’s time to take this puppy’s access away. A hollow arrow means that the app can access location only when something specific happens — time of day change, some kind of emergency, if the phone detects that you’ve left / entered an area, et cetera.

When it comes to permitting apps to use location, you’ve got quite the pick. You can allow an app to always have access to location data — this is useful for navigation apps, so that it can keep giving you directions even when the app is minimized or the phone is sleeping. For any other apps, I suggest selecting “While using app” or “Never”, depending on need and use case.
Location Services – System Services
At the bottom of the Location Services menu, you will find System Services. Now, these are a part of the core Apple experience, are light on the battery, and most of them are there to improve your experience. Still, you can disable some of them on your use case.
Apple Pay Merchant ID can stay on. You need it if you use Apple Pay and if you don’t — it will never fire off in the first place. Things like compass calibration, SOS, and Find my iPhone are — of course — essential. HomeKit you can turn off — unless you have a smarthome hub with HomeKit appliances set up, of course.

I generally recommend keeping Mobile Network Search and Networking & Wireless on. Basically, the phone will remember which connections work where, so it will very quickly and easily find cell signal or Wi-Fi. Presumably, it drains less battery that way instead of forcing the phone to constantly scan for signals as you move about.
Then you have toggles like Popular Near Me and Routing & Traffic, which I keep off because I use Google Maps anyway.
Silence pesky notifications or just disable screen light-up

Disable Raise to Wake

Disable “Hey, Siri”

Using Google Photos?


Account sync settings: fetch, push, manual


- Push – the new information becomes available on your iPhone as soon as possible
- Fetch – the iPhone actively scans for new information once every x amount of minutes
- Manual – the iPhone only looks for new information when an app that uses it is opened
Really disable your Bluetooth

Here’s the thing — turning it off from Control Center (the pull-down menu from the top-right; swipe up on iPhone SE) will only disable it for 24 hours. To actually turn Bluetooth off, you need to go into Settings -> Bluetooth and flick its toggle off. That should save some battery in the long run.

Use wired headphones

Yes, Apple removed the headphone jack and is selling you a nice pair of wireless AirPods, which are pretty good earphones that offer seamless connectivity and autoplay features. But streaming audio over Bluetooth does take a bigger toll on the battery over just using a wired connection.
So, it’s back to cavemen times for us. Either use the EarPods or any licensed earphones with a Lightning connector or grab yourself a Lightning-to-headphone dongle and use any headset you like.
If you are in a poor reception area, enable Airplane Mode

Do make sure you’ve downloaded your route beforehand, if you’re using navigation.
Once you’ve stopped and are set up in a location, disable Airplane Mode to look for a signal.
Buy a battery case

Best iPhone SE (2020) battery cases
Source: Phonearena

Comments