Here’s how to use a mouse on your iPad, and what it’s like
The iPad was initially envisioned to be used with only your fingertips – a simple and convenient tablet that needed no accessories. However, in recent years Apple has been taking the iPad in a different direction, and hasn’t been quiet about it either. Even in ads the iPad is being recommended as a PC replacement, especially for light users with basic computer needs.
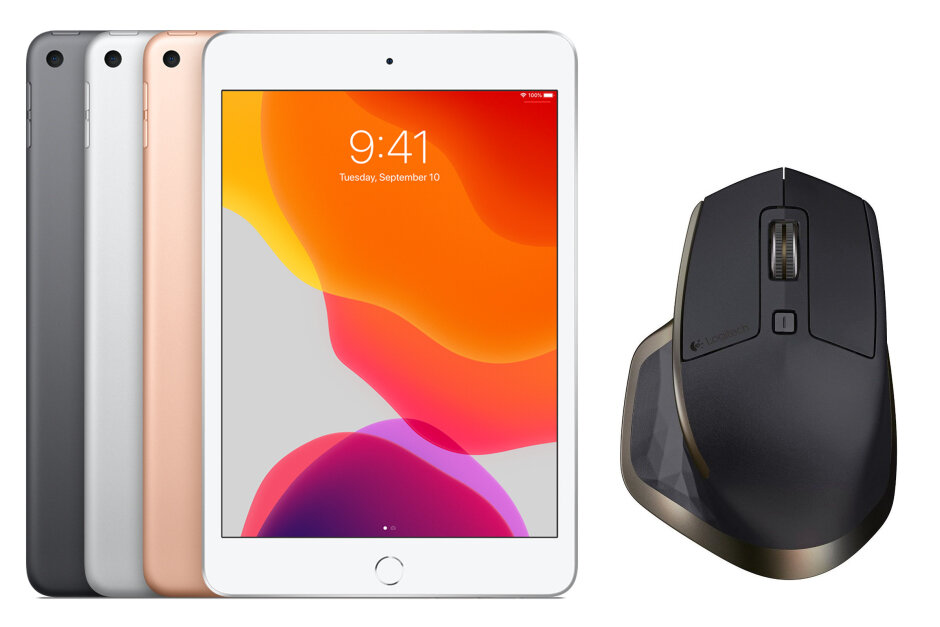
The introduction of the Apple Pencil in 2015 made sense for artists, but adding mouse support to the iPad was something many thought Apple would never do, until iPadOS 13 came out last year. Likely due to a push from users and media, the iPad now supports many of the accessories PC users may want to use, even trackpads. But even if it can be made to look like a laptop, the iPad does things differently, and even if it now has mouse support, it’s a different mouse experience from what we’re used to.
How to connect a mouse to your iPad
Your iPad needs to be running iPadOS 13.4 or higher, preferably the newest available public version. As for the mouse, any wireless Bluetooth mouse will do.
First, turn the mouse on. It should immediately be in pairing mode, or you may need to hold its pairing button for a few seconds, normally found on the underside of the mouse. If unsure how to make your mouse pair, its manual should have detailed instructions. On your iPad, start by tapping on the Settings icon, which can be found on your home screen with your other apps.

Once in the Settings app, tap on Bluetooth, then make sure it’s turned on via the button next to “Bluetooth”. Your mouse should appear under “Other Devices” as its official name, or as a generic name such as “BT Mouse” – tap on it.

Your iPad will ask you to confirm the pairing process between it and your Bluetooth mouse, simply tap on Pair and you’re done. The mouse can now be used with your iPad.

How to use a mouse on an iPad
You’ll notice that the mouse pointer doesn’t appear as an arrow, like we’re used to seeing on Windows or macOS, but it’s rather a circle. You can imagine it being your virtual fingertip, as left-clicking with your mouse normally functions just like tapping your finger where the mouse is.
But what about going back to the home screen, or performing other gestures? This is where most people will need some adjusting to how mouse gestures are done on the iPad.
- To bring up your apps dock, gently move the mouse to the bottom of the screen. The app dock will then appear.
- To view your recent apps, move the mouse to the bottom of the screen, then gently continue moving it down. Your recent apps will appear.
- To go back to the home screen, move the mouse to the bottom of the screen, then continue moving it down quickly, until you’re on the home screen.
- To bring down the Control Center, move the mouse to the top right corner of the screen, then continue moving it up.
Already you may be having trouble performing those actions correctly, and you’re not alone. Simply moving the mouse too fast or too gently can mean the difference between the correct and wrong action. However, after I got used to those mouse gestures on the iPad, the entire experience felt excitingly fresh, even if it’s not perfect yet.
How to change mouse settings on an iPad

The main trackpad and mouse settings are available under Settings > General > Trackpad & Mouse, while a few additional mouse and pointer options are treated as accessibility settings, so we’ll take a look at those later. First, let’s see what we can change inside the aforementioned Trackpad & Mouse menu.
The first option is Tracking Speed, which affects how quickly the mouse pointer will move across the screen. Initially, it was moving pretty slow in my case, so I set that up to nearly the fastest option, but you’ll find your own sweet spot as you test out different speeds.
After that, you have the option of choosing whether to use Natural Scrolling or not. When this is on, scrolling down will move everything in the opposite direction and vice versa, so I turned it off.
The third and last option currently available allows us to choose if the right or left mouse key will be used for secondary clicks, and it’s set to “Right” by default. This way, pressing the right mouse key over, say, a website link, will bring up the options to open it in a new tab, download a linked file, and so on, while the left mouse key will perform a primary action, in this case – opening the link right away. Left-handed users may prefer to set this to “Left”.

In Settings > Accessibility > Pointer Control are several additional mouse and pointer options, which allow for customizing the appearance of the circle that serves as a mouse pointer.
There, in the Appearance section, you can enable Increase Contrast to make the pointer a bit easier to see, Automatically Hide Pointer to make it disappear after a few seconds of inactivity, and set its Color. The color of the pointer is normally dynamic, but can be changed to white, blue, red, green, yellow or orange. In the “Color” menu, you can also set a Stroke Size, which only works if you’ve selected a mouse color, and makes the pointer even easier to see.
Going back to Pointer Control, below the Appearance settings you can select a Pointer Size, which as expected, makes the pointer larger or smaller. Normally, the smallest possible size would be ideal for most users.
The next option, Pointer Animations, affects whether the pointer would morph into different shapes when appropriate. For example, the pointer will change into a vertical line when hovering over text. This option also sets whether the cursor will snap onto interface elements such as icons. Some users may find it difficult to precisely use the cursor when it snaps to certain items, thus may choose to turn this off, for a more generic and predictable mouse experience.
The last option sets the Scrolling Speed, or how far would menus or pages move up or down as you scroll with the mouse’s scroll wheel.
If your mouse has extra buttons, those can conveniently be mapped to certain actions by going to the AssistiveTouch settings menu, which is linked just below the Scrolling Speed option.
So, should you use a mouse or trackpad with your iPad?

Mouse support is in its early stages, and the iPad wasn’t even meant to have it until recent years. But, if you’re using a large iPad and find it cumbersome to always lift your hand and reach for “back” buttons and menu options, using a mouse could make things easier. Alternatively, if you already have a keyboard for your iPad, using a mouse or trackpad would make sense also, especially if you need precision. Desktop browsing on the iPad is definitely easier with a mouse, as desktop websites are designed to be navigated with precise mouse clicks.
But for most users, using your finger or an Apple Pencil would be far less cumbersome. iPadOS is still almost entirely designed for touch, so a mouse only makes sense for users who need it for accessibility reasons, or for those who are doing a lot of desktop web browsing. As we’ve established, it’s not your average mouse experience, because iPadOS is not a desktop operating system. We’re yet to see if Apple is going to change that, but currently there are no signs to suggest any major changes.
Buy the Apple Magic Mouse 2 from Apple
Buy the Logitech Combo Touch keyboard case with trackpad for iPad Air (3rd generation) from Apple
Source: Phonearena

Comments